




A spreader setting is only a starting point. Granule size, moisture content, walking pace and even the condition of the spreader can alter the amount that reaches the turf. Knowing how to calibrate a lawn fertiliser spreader turns a rough recommendation into a measured application, helping you feed every square metre at the intended rate.
This is particularly worthwhile with professional-grade fertilisers. A high-nitrogen spring and summer feed applied too heavily can force soft growth, increase mowing demand and risk scorching. An autumn feed applied too lightly may not provide the potassium needed for stronger roots and improved winter resilience. Calibration removes the guesswork before the product reaches the lawn.
Why fertiliser spreader calibration matters
Most granular lawn fertilisers state an application rate in grams per square metre, often written as g/m². That figure has been calculated to deliver a specific nutrient dose. For example, a product applied at 35 g/m² provides a different amount of nitrogen, phosphorus and potassium from one applied at 50 g/m², even where the bags look similar.
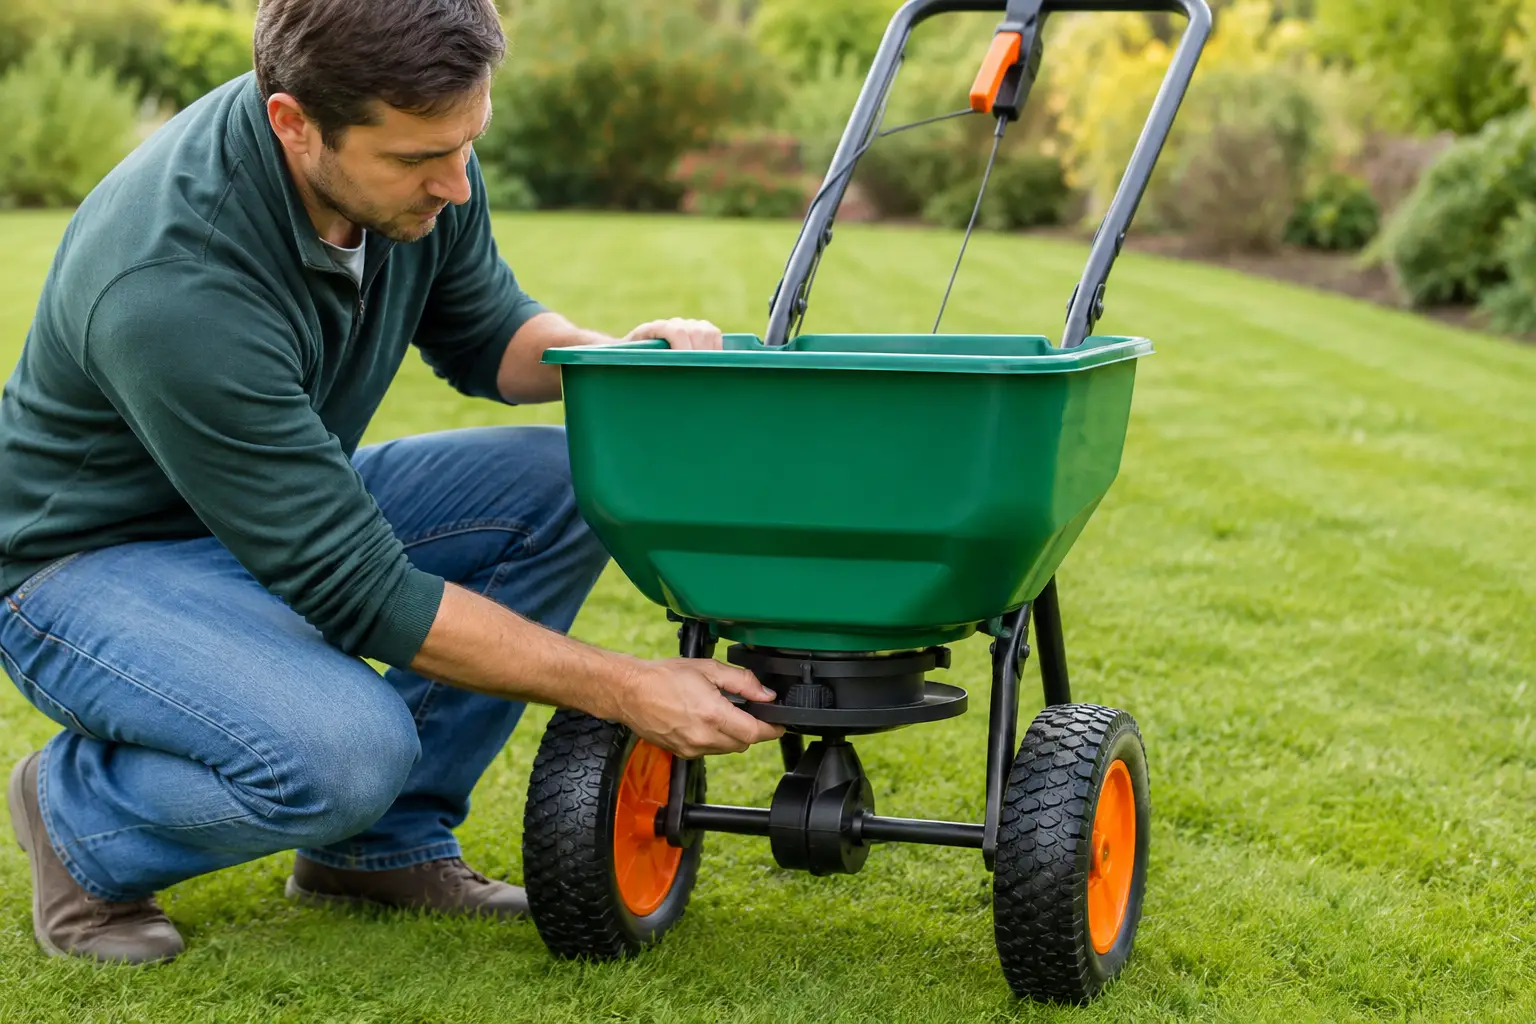
The numbered settings on a rotary or drop spreader are not universal measurements. Setting 5 on one machine may release considerably more material than setting 5 on another. Wear around the aperture, a bent agitator, damp granules or a faster walking pace can all affect flow.
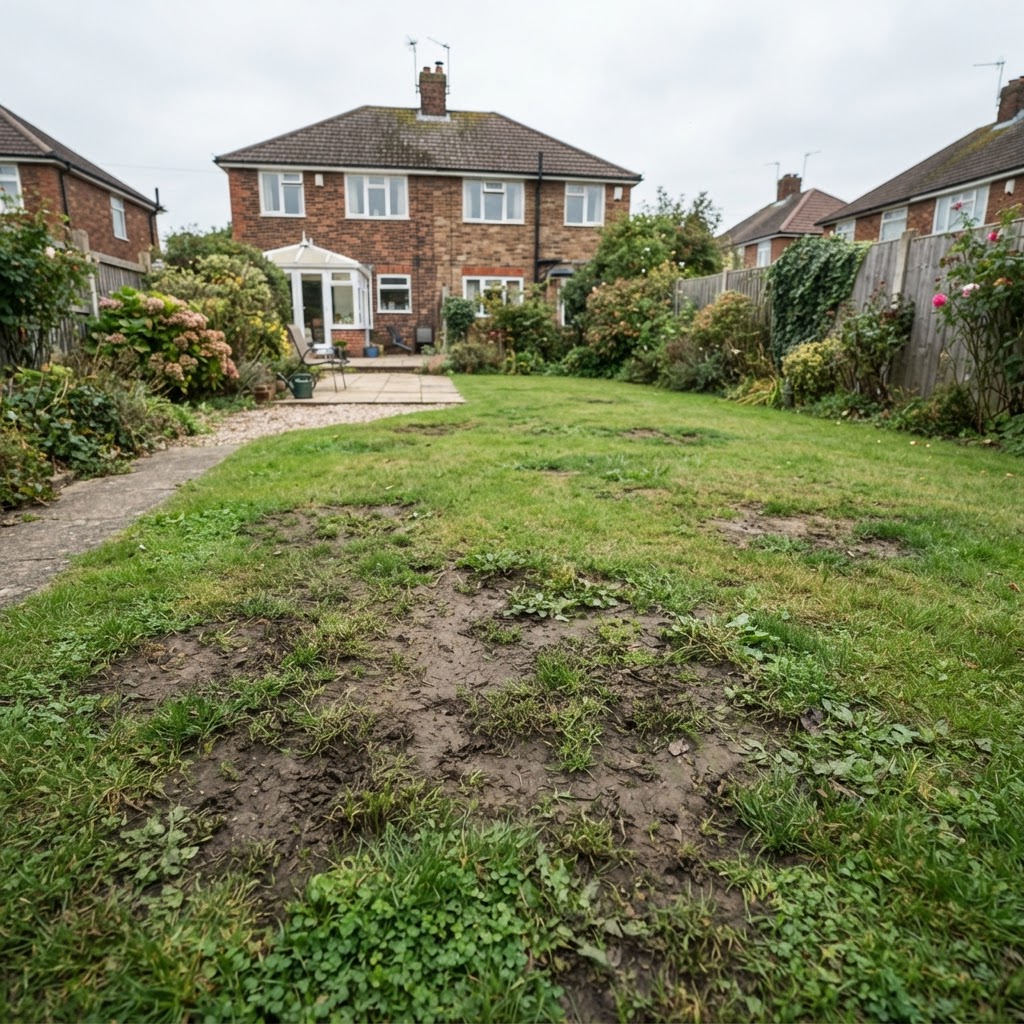
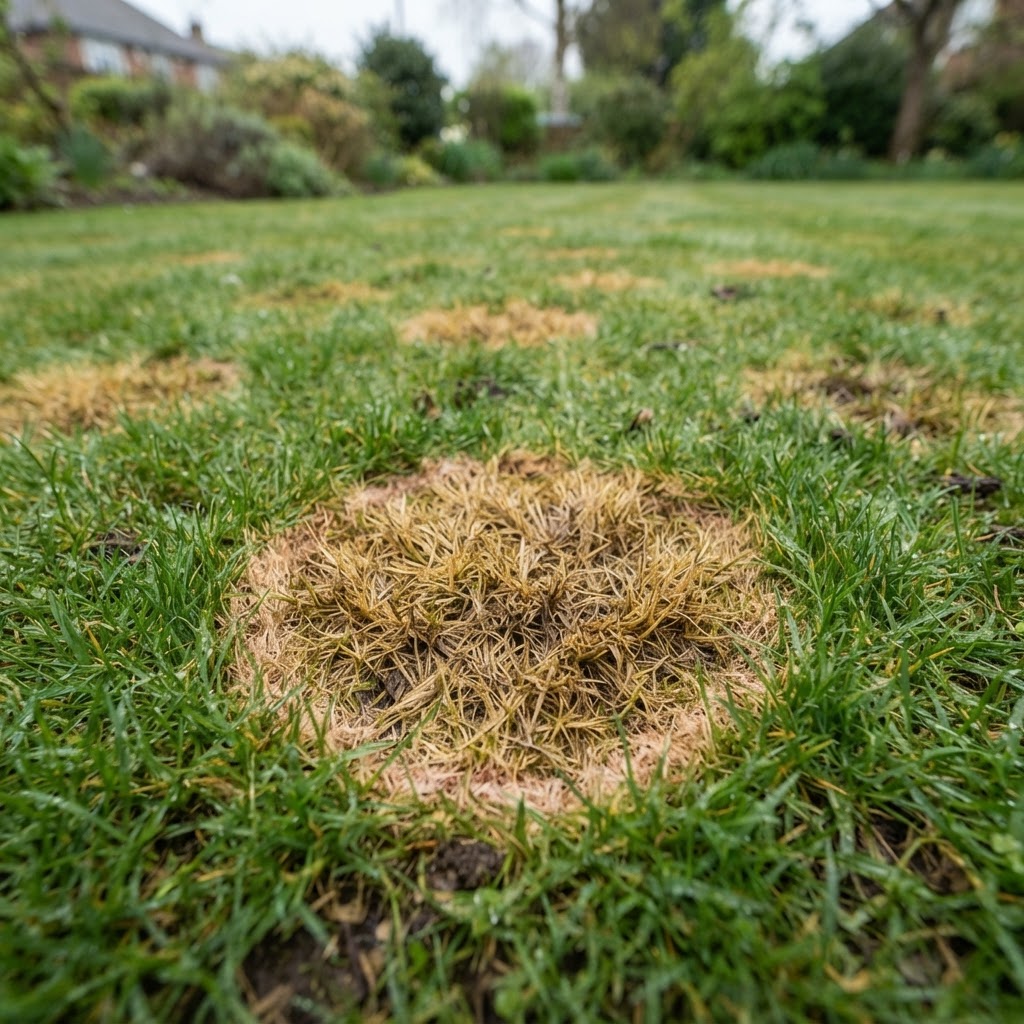
Poor calibration tends to show up as pale bands, dark stripes, patchy growth or burnt areas. It also wastes product. For a homeowner, that means spending more than necessary. For a contractor, it can mean an inconsistent finish across a site and difficult conversations with a client.
Before you calibrate a lawn fertiliser spreader
Start with a clean, dry spreader. Check that the hopper aperture opens and closes freely, the agitator moves properly and the wheels turn without dragging. Remove remnants of old fertiliser, particularly if they have absorbed moisture and hardened. Granules that bridge in the hopper will give an unreliable result.
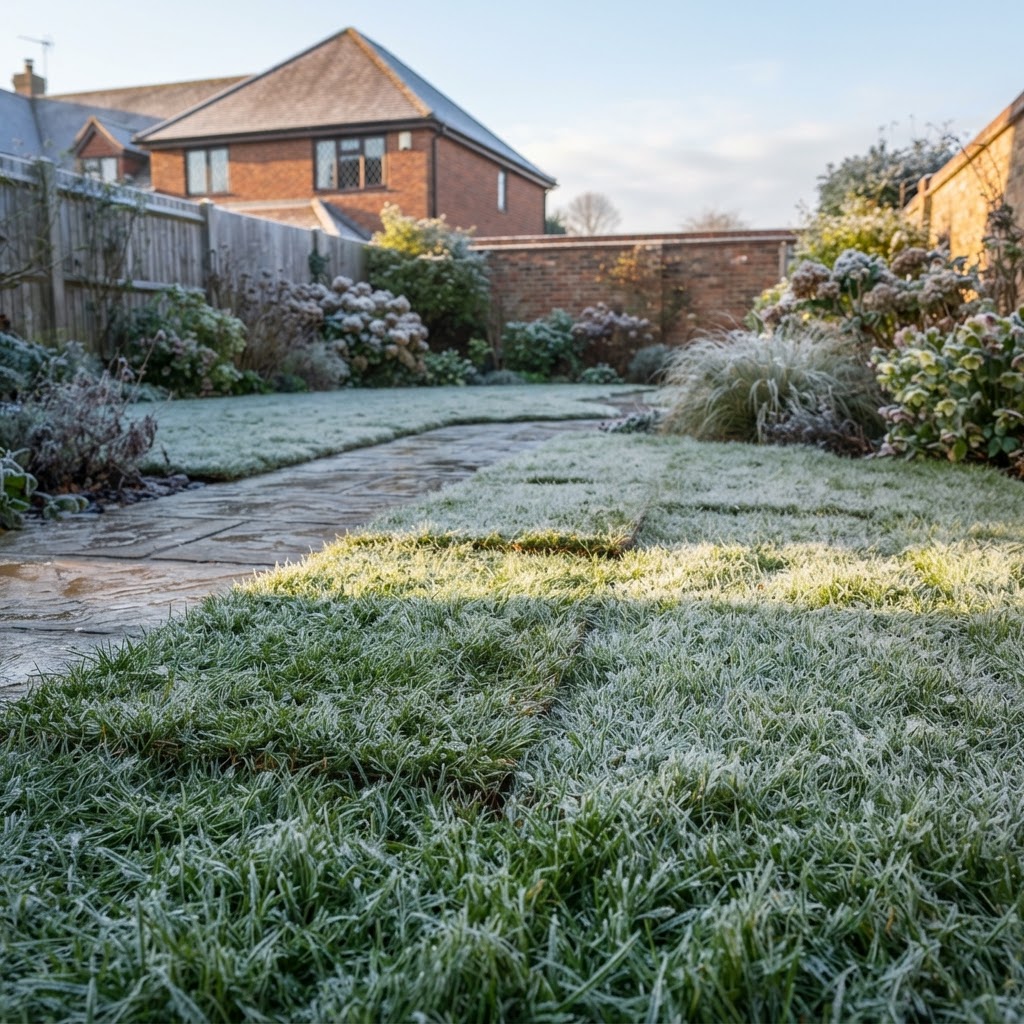
Read the fertiliser label carefully. Note the recommended rate, whether it is intended for a rotary or drop spreader, and any conditions for use. Do not apply granular feed onto frozen ground, drought-stressed turf or a lawn with no prospect of watering or rain soon after application, unless the product instructions specifically say otherwise.
You will need a set of accurate scales, a clean collection tray or sheet, a tape measure and a calculator. A rigid tray is useful for a drop spreader. For rotary spreaders, a tarpaulin or several shallow trays placed across the working width make it easier to see the spread pattern.
It is best to calibrate on a dry, hard surface such as a driveway, yard or clean path. Keep pets, children and drains clear of the test area, then collect all granules afterwards. Do not test directly on the lawn, as repeated passes can create local over-application.
Step 1: Work out the target weight
First, convert the label rate into the quantity required for your test area. The calculation is straightforward:
Target weight in grams = application rate in g/m² × test area in m²
If your fertiliser should be applied at 35 g/m² and you are testing a 10 m² area, you need to collect 350 g.
A 10 m² test is practical for most domestic and professional spreaders. For a drop spreader with a known 50 cm working width, mark out a run 20 metres long. Half a metre multiplied by 20 metres equals 10 m². For a rotary spreader, the effective working width needs to be established first, because granules are thrown beyond the wheel tracks and the pattern overlaps.
Step 2: Establish the effective width
With a drop spreader, the effective width is generally close to the hopper width. Check the manufacturer’s guidance, but do not assume it is exact if the machine is worn or the shutter mechanism has been adjusted.
Rotary spreaders need more care. Their distribution pattern is rarely perfectly even from side to side. Place a row of shallow trays or identical containers across a wide test strip, then make one pass at a steady walking pace. Weigh the material in each tray.
The outer edges of the throw often contain less fertiliser than the centre. In normal use, this is corrected by overlapping adjacent passes. Your effective width is therefore the distance between pass lines that gives an even combined application, rather than the full distance that a few granules travel. A sensible overlap is commonly 20 to 30 per cent, but the tray test gives a more dependable answer than a rule of thumb.
For example, if granules are visibly distributed across 3 metres but the outer 50 cm on each side is sparse, use an effective width nearer 2 metres. Mark this width on the ground for the calibration run.
Step 3: Run a measured tray test
Close the spreader aperture and add enough fertiliser for the test. Do not fill the hopper to the brim. A moderate load is easier to control and better represents normal use.
Set the spreader to a conservative opening. Walk the measured distance at the same pace you will use on the lawn: purposeful, even and without sudden stops. With a rotary spreader, begin moving before opening the shutter and close it before you stop. This prevents piles of fertiliser at the beginning and end of each pass.
Collect and weigh the fertiliser discharged during the run. Compare that figure with your target weight.
If the test requires 350 g and the spreader delivers 280 g, open the setting slightly and repeat the test with fresh, weighed material. If it delivers 430 g, reduce the aperture. Make small adjustments. A large change can easily take you from under-feeding to excessive application.
Repeat until the collected quantity is close to the target. Two or three consistent runs are more useful than one lucky result. Record the final setting, fertiliser name, application rate, spreader model and your chosen walking pace in a notebook or on the bag. That record will save time at the next application.
Step 4: Apply with a planned pattern
Once calibrated, divide the lawn into manageable sections. Calculate the product required for each section before you start. If a 60 m² lawn needs feeding at 35 g/m², the total requirement is 2.1 kg. Measuring the total quantity first provides a useful check that the spreader is performing as expected.
For a rotary spreader, work in parallel passes with the overlap established during your tray test. Keep your pace steady and avoid applying next to borders, ponds or drains. It is often better to treat lawn edges separately with a hand spreader than risk throwing granules into beds or onto hard surfaces.
For a drop spreader, line up each pass carefully beside the previous wheel track. Drop spreaders are precise, but missed strips are more obvious because there is little sideways throw to disguise them.
Where a product has a narrow margin for error, such as a strong feed or a combined fertiliser, weed and moss treatment, consider applying half the total rate in one direction and the other half at right angles. This improves uniformity. It does, however, require careful measurement and is not suitable where the label specifies a single-pass application method.
Common calibration errors
The most frequent mistake is relying on a setting chart without testing it. Charts are useful reference points, not proof of output. The next is changing walking speed halfway through a lawn. A faster pace usually reduces the amount applied per square metre, while a slow pace increases it.
Damp product is another problem. Fertiliser should be stored sealed and dry. Once granules begin to break down or clump, they will not flow consistently through a spreader. Do not try to compensate by opening the shutter wider. Replace compromised material instead.
Avoid calibrating with one product then assuming the same setting suits another. Fine granules, coarse granules and blends with different particle densities behave differently. A 6-9-6 pre-seeder fertiliser and a high-nitrogen summer feed may require different settings even at identical application rates.
Finally, do not confuse the spreader’s full throwing width with its effective working width. Overestimating width is a dependable way to underfeed the lawn and leave pale stripes between passes.
After application
Sweep or blow stray granules off paths, patios and driveways back onto the lawn. Granular fertiliser left on hard surfaces can be carried into surface water during rain. Where the label recommends watering in, apply a light, even irrigation after spreading or time the job ahead of suitable rainfall.
Keep mowing sensible after feeding. Do not scalp newly stimulated grass. A regular cut at an appropriate height encourages tillering and lets the turf use the nutrients for denser, more resilient growth rather than a brief flush of weak leaf.
A calibrated spreader is not glamorous equipment, but it is one of the simplest ways to achieve a trade-standard finish. Measure the output, keep a record for each product and let the fertiliser do the work it was formulated to do.